Editing a Blog Post: Difference between revisions
mNo edit summary |
mNo edit summary |
||
| Line 23: | Line 23: | ||
Comments can be enabled or disabled here via the '''Allow Comments''' check box. This will be enabled by default, but can be disabled here later if necessary. These [[Managing Comments | can be managed]] at any time in the "Comments" area of the "My Content" section of the [[Toolbar]]. | Comments can be enabled or disabled here via the '''Allow Comments''' check box. This will be enabled by default, but can be disabled here later if necessary. These [[Managing Comments | can be managed]] at any time in the "Comments" area of the "My Content" section of the [[Toolbar]]. | ||
Revision as of 11:57, 8 February 2010
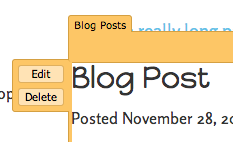
In order to edit a post, you can click on the post title in the "Manage Posts" section of the Toolbar by clicking "My Content" then "Blog Posts". If the Blog Posts component is already added to your site, you can click on the edit or delete icons on the left side of the component toolbar:
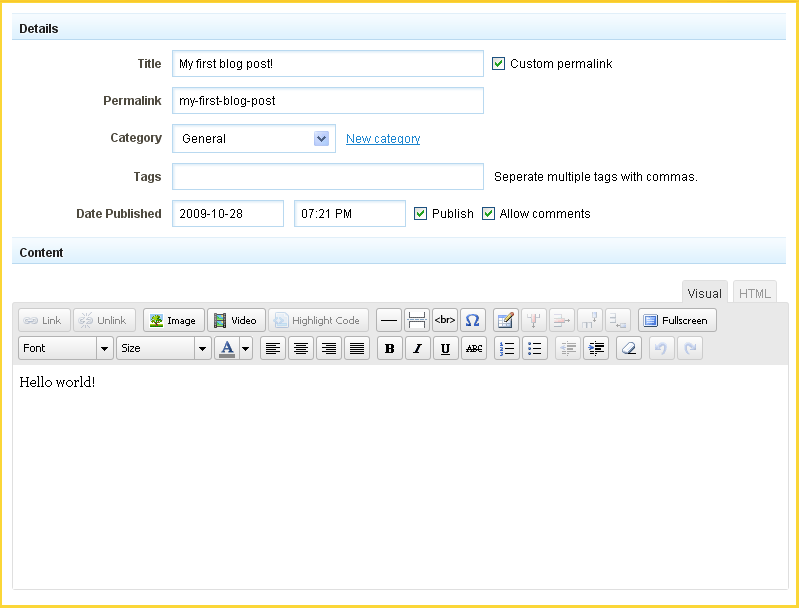
Details
The post Title can be changed on this page. Clicking the Custom Permalink check box will allow you to enter a permalink into a text box that will appear below the title once selected.
The post Category can be changed here as well. If you would like to add this to a new category, you can create one by clicking the 'New Category' link.
Tags can be added, removed and changed in this area. Tags are keywords relevant to a post that can be used to group them as a means of organization.
You can change the Publish setting for the entry. If you are editing a post, it will already be published and the check box checked, however unchecking and saving your settings will unpublish the entry. This will be verified in the "Manage Posts" area. The Date Published time and date can be modified simply in this area as well so you can have the proper setting when the entry is ready to be published.
Comments can be enabled or disabled here via the Allow Comments check box. This will be enabled by default, but can be disabled here later if necessary. These can be managed at any time in the "Comments" area of the "My Content" section of the Toolbar.
Adding a Break:
You can insert a page break into the body of your blog post to separate your post content between what displays on your website, and the rest of the content (including the pre-break content!) which will display on the page dedicated for all post content.
So what does this mean and why would you want to do this? This is most commonly used to keep neat and tidy the page where the blog posts are appearing - using just a portion of the full post - serving as a "preview" of your post, with a way for readers to click on a link if they are interested in reading the rest of the post.
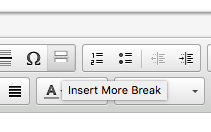
To add one, click on an area in the body of your post where you want to insert it, and click the "Insert page break" button:
Take a look below at how this looks within the editor:
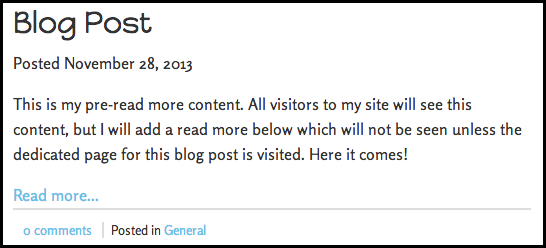
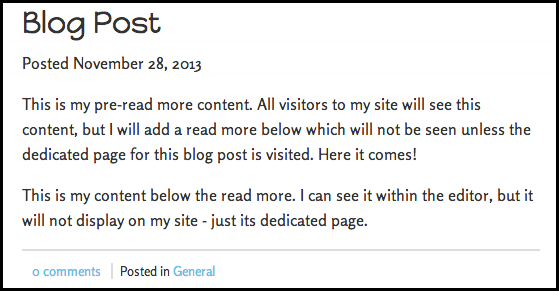
Where the break is placed will generate a "Read More..." link to your dedicated post page. Let's take a look at how this appears on our site:
Clicking the "Read more..." link will load the post's dedicated page, displaying the entire post:

