Choosing a New Theme
Time for a change? You can choose a new Theme at any time to give your website a new look and feel. Simply click "Change Website Theme" in the "Edit Theme" section of the Toolbar to get started.
All available Themes can be viewed here. Try searching by key word or description! Removing the search terms will reset the filter and bring you back to the main page.
Note:
Clicking on "Install" or "Reinstall" will immediately apply it.
Editing the Header Image
In most cases, the header image for a theme can be modified. This is useful as it would otherwise need to be done by editing the theme code and image files manually and in many cases may be difficult.
If applicable, you can replace a theme header image by moving your cursor over the cog-wheel in the Theme Image dialog and clicking the "Modify" button:
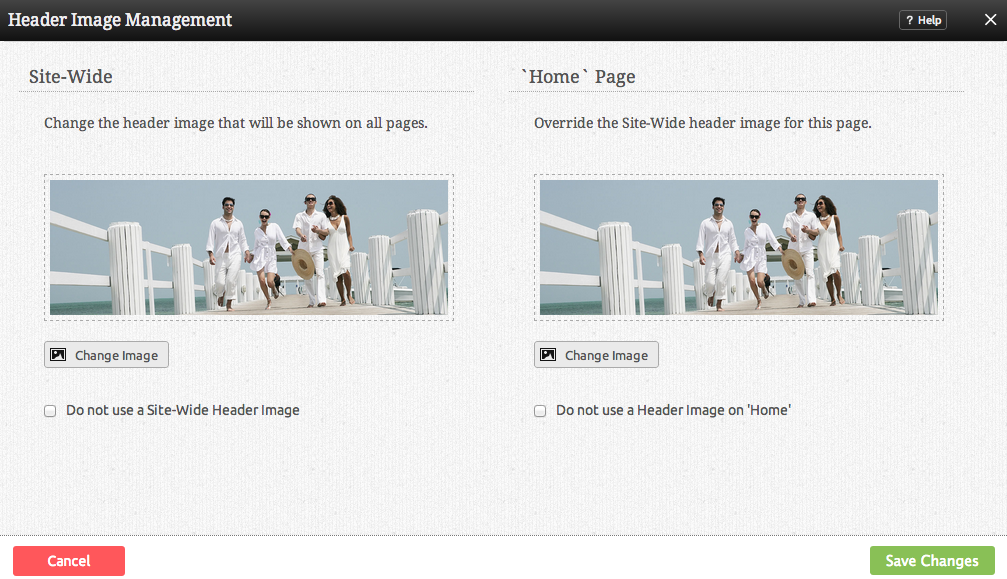
Clicking on "Modify" will open a new window, here you can select if you want to change the header image for all pages (Site-Wide) or for just the page you are on. Click the "Change Image" button under the image you wish to change.
After clicking the "Change Image" button you can select where the new image should come from. Choose from your own gallery, our ample stock photography gallery or upload image of your choice.
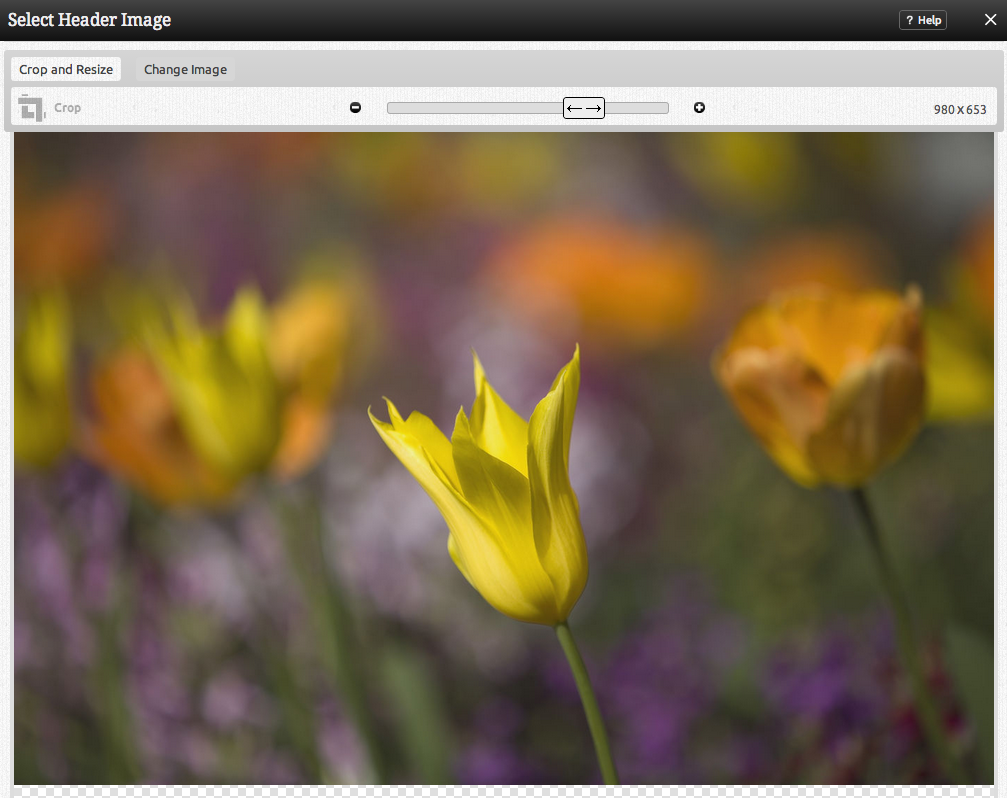
Select the image that you want to use and click "Use Selected File". Now for the fun part! You will now be brought to the Crop and Resize feature.
First, make sure "Crop" is "ON" before slicing and dicing this photo down to size! Resize the image how you would like it to appear on your site. Make the crop area bigger or smaller using the handles around the image, click and drag with your mouse to resize. You can also zoom in on the image by using the slider at the top of the page.
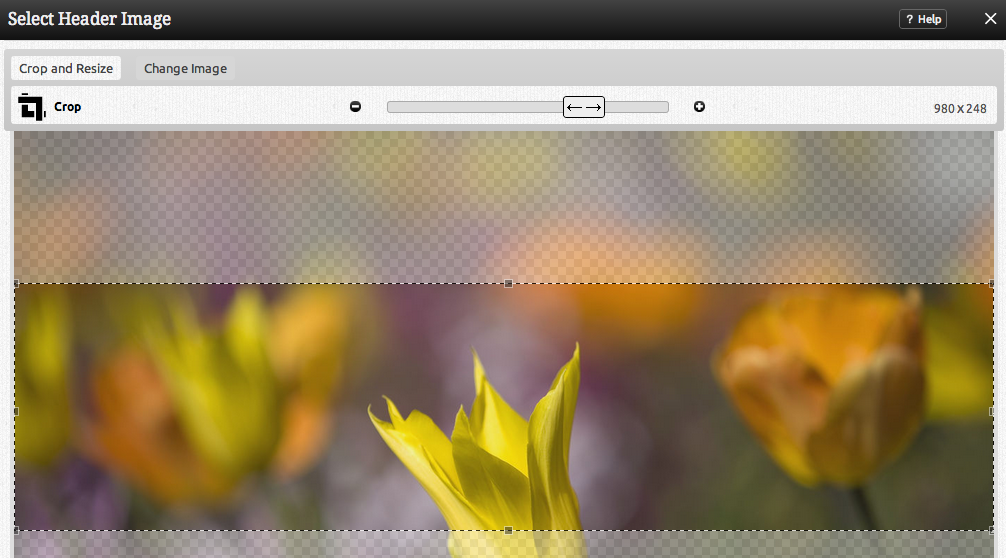
Here is the above image with the cropper tool set to "ON", the image resized to be larger, and a portion of it cropped:
Remember that the width of the image box on your screen is the maximum width your image can be for the area you are placing it in. Dragging your crop area to fill the entire width of the box will fill the width of that area on your website. If you don't like the image you have selected you can click the "Change Image" at the top to select a different one. When you are done, click "Insert Image." Replacing that image with a new image should not remove the previous styles/margin on the image.
Note: Saving an image that is larger than the boundaries of the image location will be auto-cropped to the max width of the content size.
Still not happy with the way your image looks? Clicking modify on your header again will take you right back to where you were; in case you want to zoom your image in a little more or crop it slightly different.
Configuring different header images for different pages
To do this, first click on the page you want to have a different header image (or no header image) than the other pages/main page and then click the "Modify" button as mentioned above - you'll see a box like this:
You will want to use the right side of the box to Override the Site-Wide header image for this page. Simply select your image and save changes!
For theme header settings, please see Modifying Theme Header Settings. For theme header/subheader text styling, please see Modifying Header/Subheader Styling.
Where to Find
This area can be found in the "My Website" section of the Toolbar.


