Blog Categories: Difference between revisions
| Line 20: | Line 20: | ||
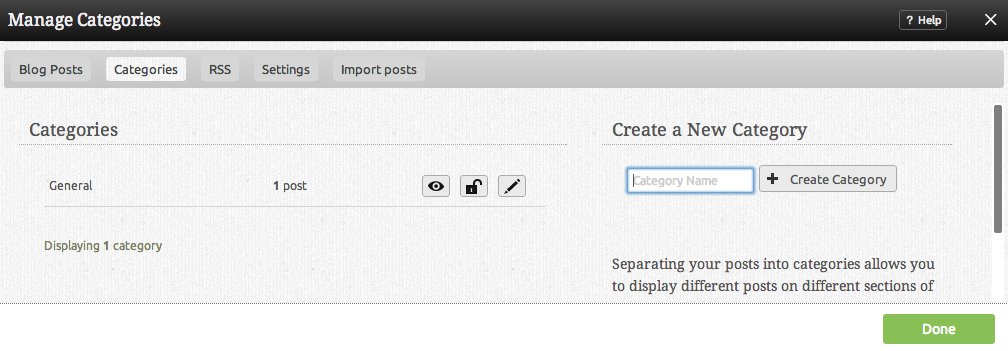
Enter your Category Name and click the "Create Category" button [[Image:Newcategbutton.PNG]] to create a new category. If you would like to edit an existing Category name, simply click on the edit icon next to the category in the "Categories" area. | Enter your Category Name and click the "Create Category" button [[Image:Newcategbutton.PNG]] to create a new category. If you would like to edit an existing Category name, simply click on the edit icon next to the category in the "Categories" area. | ||
* The [[Image:Viewicon.gif]] icon will allow you to view all Blog entries listed in this category. | * The [[Image:Viewicon.gif]] icon will allow you to view all Blog entries listed in this category. | ||
Latest revision as of 16:50, 28 November 2013
Categories are used to organize your posts. Separating your posts into categories allows you to display different posts on different sections of your website, or simply allow visitors to browse your posts by topics of their interest.
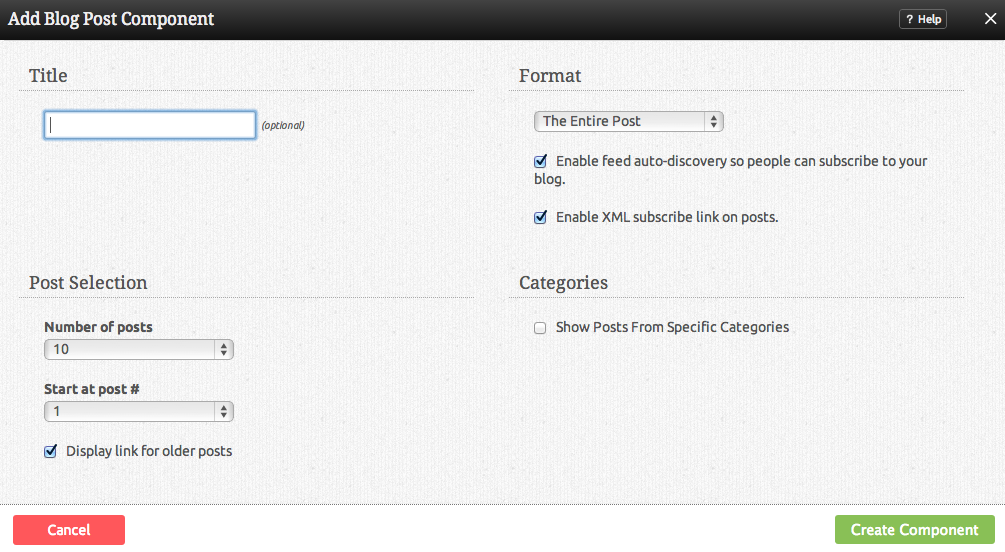
If you select choose specific categories to display in the Blog Post settings, you can specify which posts you want to display by category, as created in the Categories section.
Where to Find
Blog categories can be managed by clicking on the "Categories" tab in the "Manage Posts" section of the Toolbar.
How to use
Enter your Category Name and click the "Create Category" button to create a new category. If you would like to edit an existing Category name, simply click on the edit icon next to the category in the "Categories" area.


