Creating an E-mail address: Difference between revisions
m (Text replace - "Web-Builder" to "website builder") |
No edit summary |
||
| Line 63: | Line 63: | ||
[[Category:Domain Names]] | [[Category:Domain Names]] | ||
[[Category:E-mail]] | [[Category:E-mail]] | ||
[[Category:Viviti]] | |||
Revision as of 13:44, 15 November 2010
Custom e-mail addresses can easily be created and managed within your website builder account. This is great as it allows you to use e-mail addresses associated with your site address for greater professionalism, and they can be conveniently managed within your website builder account along with your domains and websites.
Creating an E-mail address
In order to purchase email services, you must first purchase a domain name or add an external domain. When this is in place, simply click "Add a new account" in the "Email accounts" area of your Account Overview to get started.
Note: If you do not have a domain configured with your account, the next page will detect this and prompt you to configure this to continue.
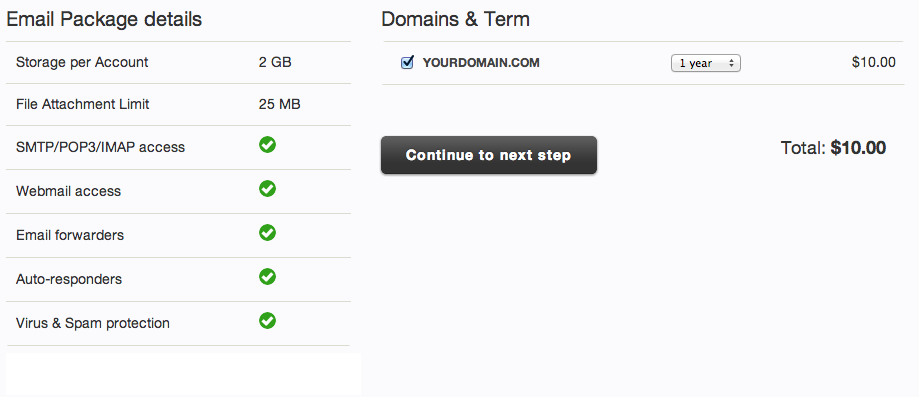
The e-mail service is provided at a cost of $10 per year per domain. You can have an unlimited number of mailboxes and each mailbox is limited to 1GB of storage space. Our e-mail service includes POP/IMAP and Webmail access as well.
To add email to an existing domain you need to purchase email hosting after which you can setup as many email accounts as you like for that domain. Please contact our support department if you have any questions regarding this service.
Select the domains you want to purchase email hosting for by clicking the checkbox to the left, choose the term length you want to purchase and click the continue button when ready. The next step will be to enter your credit card and billing information, or confirm that you want to use existing information on file and continue to complete the payment.
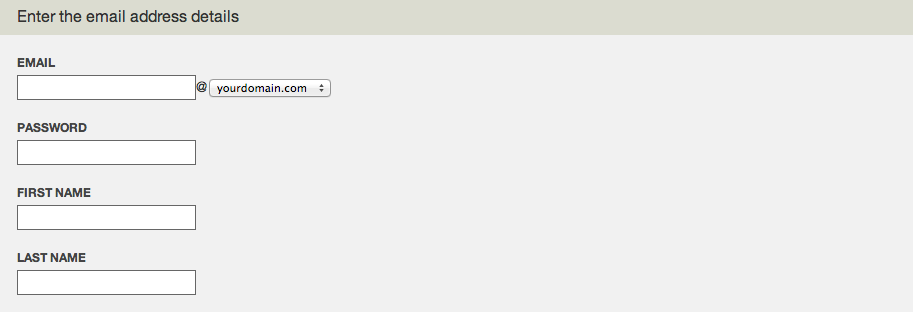
Once you have purchased this service, creating e-mail addresses is as simple as re-accessing the "Add a new account" in the "Email accounts" area of your Account Overview area and entering the required information.
Once complete, your new address will appear in your Account Overview area under the "Email accounts" heading.
Managing an E-mail address
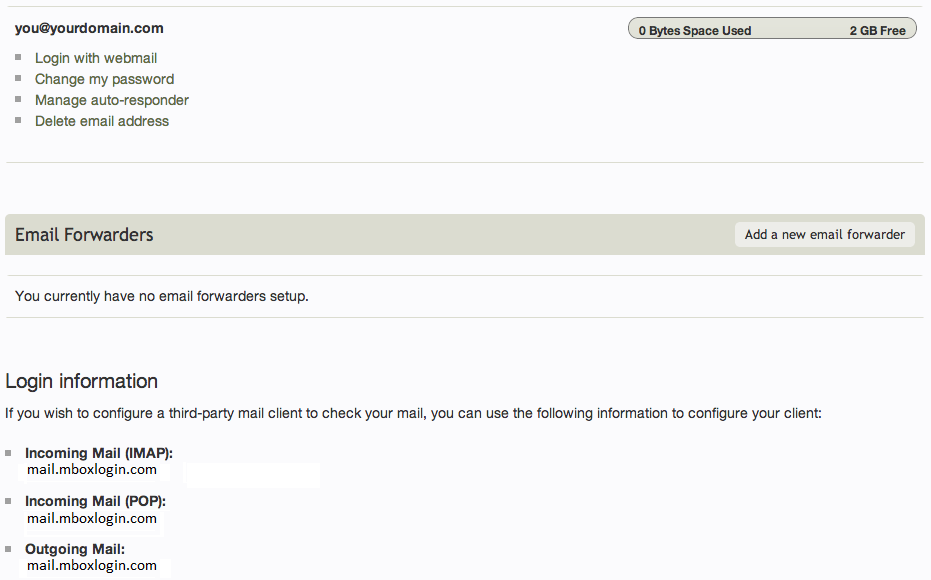
After an e-mail address has been created, it can be managed any time by clicking the "manage" button beside it. Here you can:
- Login with webmail
- Change password
- Delete e-mail address
- Acquire third-party mail client login information
You can also configure catch all e-mail settings by visiting the Domain Management area.


